ITA - Vim: python ide
August 2020 (1117 Words, 7 Minutes)
Installazione di Vim
Per installare vim:
` pacman -S gvim python cmake`
Requisiti per questo uso:
- versione di VIM maggiore o uguale a 7.3
- +python deve essere visualizzato nell’elenco delle feature.
queste due condizioni possono essere verificate usando il comando:
VIM - Vi IMproved 8.2 (2019 Dec 12, compiled Jun 21 2020 16:11:23)
Included patches: 1-814
Compiled by Arch Linux
Huge version with GTK3 GUI. Features included (+) or not (-):
+acl -farsi +mouse_sgr +tag_binary
+arabic +file_in_path -mouse_sysmouse -tag_old_static
+autocmd +find_in_path +mouse_urxvt -tag_any_white
+autochdir +float +mouse_xterm +tcl/dyn
-autoservername +folding +multi_byte +termguicolors
+balloon_eval -footer +multi_lang +terminal
+balloon_eval_term +fork() -mzscheme +terminfo
+browse +gettext +netbeans_intg +termresponse
++builtin_terms -hangul_input +num64 +textobjects
+byte_offset +iconv +packages +textprop
+channel +insert_expand +path_extra +timers
+cindent +ipv6 +perl/dyn +title
+clientserver +job +persistent_undo +toolbar
+clipboard +jumplist +popupwin +user_commands
+cmdline_compl +keymap +postscript +vartabs
+cmdline_hist +lambda +printer +vertsplit
+cmdline_info +langmap +profile +virtualedit
+comments +libcall +python/dyn +visual
+conceal +linebreak +python3/dyn +visualextra
+cryptv +lispindent +quickfix +viminfo
+cscope +listcmds +reltime +vreplace
+cursorbind +localmap +rightleft +wildignore
+cursorshape +lua/dyn +ruby/dyn +wildmenu
+dialog_con_gui +menu +scrollbind +windows
+diff +mksession +signs +writebackup
+digraphs +modify_fname +smartindent +X11
+dnd +mouse +sound -xfontset
-ebcdic +mouseshape +spell +xim
+emacs_tags +mouse_dec +startuptime -xpm
+eval +mouse_gpm +statusline +xsmp_interact
+ex_extra -mouse_jsbterm -sun_workshop +xterm_clipboard
+extra_search +mouse_netterm +syntax -xterm_save
   system vimrc file: "/etc/vimrc"
     user vimrc file: "$HOME/.vimrc"
 2nd user vimrc file: "~/.vim/vimrc"
      user exrc file: "$HOME/.exrc"
  system gvimrc file: "/etc/gvimrc"
    user gvimrc file: "$HOME/.gvimrc"
2nd user gvimrc file: "~/.vim/gvimrc"
       defaults file: "$VIMRUNTIME/defaults.vim"
    system menu file: "$VIMRUNTIME/menu.vim"
  fall-back for $VIM: "/usr/share/vim"
Compilation: gcc -c -I. -Iproto -DHAVE_CONFIG_H -DFEAT_GUI_GTK -I/usr/include/gtk-3.0 -I/usr/include/pango-1.0 -I/usr/include/glib-2.0 -I/usr/lib/glib-2.0/include -I/usr/include/harfbuzz -I/usr/include/freetype2 -I/usr/include/libpng16 -I/usr/include/fribidi -I/usr/include/cairo -I/usr/include/pixman-1 -I/usr/include/gdk-pixbuf-2.0 -I/usr/include/libmount -I/usr/include/blkid -I/usr/include/gio-unix-2.0 -I/usr/include/atk-1.0 -I/usr/include/at-spi2-atk/2.0 -I/usr/include/dbus-1.0 -I/usr/lib/dbus-1.0/include -I/usr/include/at-spi-2.0 -pthread -march=x86-64 -mtune=generic -O2 -pipe -fno-plt -D_REENTRANT -U_FORTIFY_SOURCE -D_FORTIFY_SOURCE=1
Linking: gcc -L. -Wl,-O1,--sort-common,--as-needed,-z,relro,-z,now -fstack-protector-strong -rdynamic -Wl,-export-dynamic -Wl,-E -Wl,-rpath,/usr/lib/perl5/5.32/core_perl/CORE -Wl,-O1,--sort-common,--as-needed,-z,relro,-z,now -L/usr/local/lib -Wl,--as-needed -o vim -lgtk-3 -lgdk-3 -lz -lpangocairo-1.0 -lpango-1.0 -lharfbuzz -latk-1.0 -lcairo-gobject -lcairo -lgdk_pixbuf-2.0 -lgio-2.0 -lgobject-2.0 -lglib-2.0 -lSM -lICE -lXt -lX11 -lXdmcp -lSM -lICE -lm -ltinfo -lelf -lcanberra -lacl -lattr -lgpm -ldl -Wl,-E -Wl,-rpath,/usr/lib/perl5/5.32/core_perl/CORE -Wl,-O1,--sort-common,--as-needed,-z,relro,-z,now -fstack-protector-strong -L/usr/local/lib -L/usr/lib/perl5/5.32/core_perl/CORE -lperl -lpthread -ldl -lm -lcrypt -lutil -lc -L/usr/lib -ltclstub8.6 -ldl -lz -lpthread -lm
[stethewwolf@lomiri ~]$
Installazione di Vundle
Vim è un tool potente ed estendibile, uno dei più popolati gestore di estensione è vundle , procediamo quindi alla sua installazione:
` git clone https://github.com/VundleVim/Vundle.vim.git ~/.vim/bundle/Vundle.vim`
dopo questo passaggio è necessario inserire la configurazione base di vundle :
filetype off " required

" set the runtime path to include Vundle and initialize
set rtp+=~/.vim/bundle/Vundle.vim
call vundle#begin()

" alternatively, pass a path where Vundle should install plugins
"call vundle#begin('~/some/path/here')

" let Vundle manage Vundle, required
Plugin 'gmarik/Vundle.vim'

" add all your plugins here (note older versions of Vundle
" used Bundle instead of Plugin)

" ...

" All of your Plugins must be added before the following line
call vundle#end() " required
filetype plugin indent on " required
in futuro dopo aver modificato il file .vimrc sarà necessario dare il comando per caricare i plugin :PluginInstall
Abilitarte il click del mouse
set mouse=a
Visualizzare più files conteporaneamente
set splitbelow
set splitright

" split navigations
nnoremap <C-J> <C-W><C-J>
nnoremap <C-K> <C-W><C-K>
nnoremap <C-L> <C-W><C-L>
nnoremap <C-H> <C-W><C-H>

map <C-m> :tabprevious<CR>
map <C-i> :tabnext<CR>
Espandere/Contrarre il codice
Plugin 'tmhedberg/SimpylFold'

" decommenta se sdi vuole vedert the docstrings for folded code:
" let g:SimpylFold_docstring_preview=1
Indentazione del codice python
Per abilitare l’indentazione secondo lo standard PEP 8 aggiungere :
au Filetype python set
     \ tabstop=4
     \ softtabstop=4
     \ shiftwidth=4
     \ textwidth=79
Per abilitare l’auto indentazione aggiungiamo il plugin
Plugin 'vim-scripts/indentpython.vim'
Supporto a UTF-8
Aggiungiamo il seguente parametro :
set encoding=utf-8
Atuocompletamento
Per abilitare l’autocompletamento consiglio il seguente plugin:
Plugin 'ajh17/vimcompletesme'
Bisogna segure le linee guida di installazione,

Installare youcompleteme in breve
I passi essenziali da segure sono ( per info più dettagliate fare riferiemnto alle fonti )
- aggiungere il plugin al file
.vimrce dare il comando:PluginInstall - installare sul sistema python e cmake
- spostarsi nella cartella
~/.vim/bundle/youcompleteme - e laciare il file
install.sh
Supporto a virtual env
Uno dei problemi grossi dell’uso di virtualenv è l’impossibilità di vim o ycm di accedere alle risorse che contiene. per farlo si suggerisce di aggiungere al proprio .vimrc :
"python with virtualenv support
py3 << EOF
import os
import sys
if 'VIRTUAL_ENV' in os.environ:
  project_base_dir = os.environ['VIRTUAL_ENV']
  activate_this = os.path.join(project_base_dir, 'bin/activate_this.py')
  execfile(activate_this, dict( __file__ =activate_this))
EOF
Controllo della sintassi
Per permettere a vim di controllare la sintassi del codice si suggerisce di aggiungere il plugin :
Plugin 'vim-syntastic/syntastic'
E di abilitare la funzioanlità appendendo alle configurazioni :
let python_highlight_all=syntax on
Albero dei files e delle cartelle
Per abilitare il pannello di esplorazione del file system
Plugin 'scrooloose/nerdtree'
Se si usano i tab si potrebbe preferire :
Plugin 'jistr/vim-nerdtree-tabs'
Se si desidera che NERDTree ignori alcuni file si può aggiungere la seguente linea :
let NERDTreeIgnore=['\.pyc$', '\~$'] "ignore files in NERDTree
A me piace rimappare la scomparsa/comparsa dell’albero con CTRL+n
map <C-n> :NERDTreeToggle<CR>

Ricerca avanzata
Per poter cercarcare agevolmente tra files e cartelle si può usare il seguente plugin
Plugin 'kien/ctrlp.vim'
Come ci si aspetta dal nome la combinazione di tasti Ctrl+P attiverà la barra di ricerca.

Numeri di riga
Per abilitare i numeri di riga aggiungere il seguente parametro di configurazione:
set nu
Se si desiderano i numeri di riga relativi si può usare :
set rnu
Integrazione con git
Il seguente plugin abilita l’ntegrazione con git
Plugin 'tpope/vim-fugitive'
In generale questo plugin permette di chiamare i comandi git direttamente dal prompt di vim, usando:
:G <comando git>
Barra di stato
Powerline è una barra di stato che mostra varie informazione su git su virtualenv sui files aperti, ecc …
Per aggiungerla aggiungere i seguenti plugin :
Plugin 'vim-airline/vim-airline'
Plugin 'vim-airline/vim-airline-themes'
Risultato finale
Vimrc
Il file ~/.vimrc alla fine del processo apparirà pressapoco così
set nocompatible " required
filetype off " required

" set the runtime path to include Vundle and initialize
set rtp+=~/.vim/bundle/Vundle.vim
call vundle#begin()

" alternatively, pass a path where Vundle should install plugins
"call vundle#begin('~/some/path/here')

" let Vundle manage Vundle, required
Plugin 'gmarik/Vundle.vim'

" add all your plugins here (note older versions of Vundle
" used Bundle instead of Plugin)

Plugin 'oblitum/youcompleteme'
Plugin 'tmhedberg/SimpylFold'
Plugin 'vim-scripts/indentpython.vim'
Plugin 'tpope/vim-fugitive'
Plugin 'kien/ctrlp.vim'
Plugin 'scrooloose/nerdtree'
Plugin 'vim-airline/vim-airline'
Plugin 'vim-airline/vim-airline-themes'

" All of your Plugins must be added before the following line
call vundle#end() " required
filetype plugin indent on " required

set splitbelow
set splitright

" split navigations
nnoremap <C-J> <C-W><C-J>
nnoremap <C-K> <C-W><C-K>
nnoremap <C-L> <C-W><C-L>
nnoremap <C-H> <C-W><C-H>

map <C-i> :tabprevious<CR>
map <C-m> :tabnext<CR>

au Filetype python set
     \ tabstop=4
     \ softtabstop=4
     \ shiftwidth=4
     \ textwidth=79

" python with virtualenv support
py3 << EOF
import os
import sys
if 'VIRTUAL_ENV' in os.environ:
    project_base_dir = os.environ['VIRTUAL_ENV']
    activate_this = os.path.join(project_base_dir,'bin/activate_this.py')
    exec(open(activate_this).read(), { " __file__": activate_this })
EOF

let python_highlight_all=1
syntax on

" set mause enambled
set mouse=a

" enable line number
set nu

" set clipboard=unnamed

let NERDTreeIgnore=['\.pyc$', '\~$'] "ignore files in NERDTree
map <C-n> :NERDTreeToggle<CR>

set expandtab
set fileformat=unix
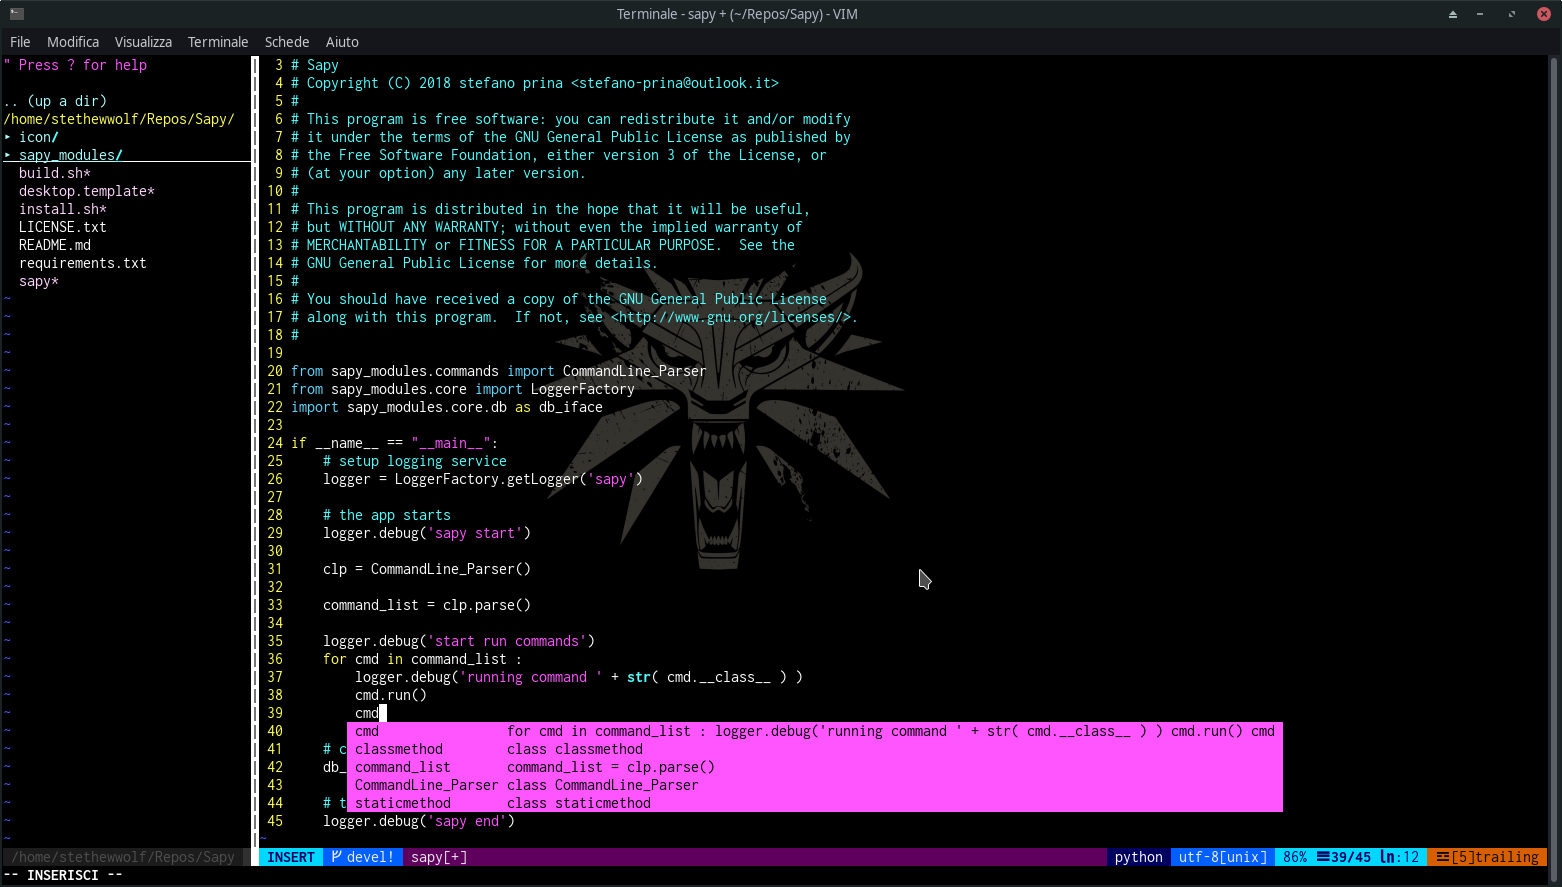
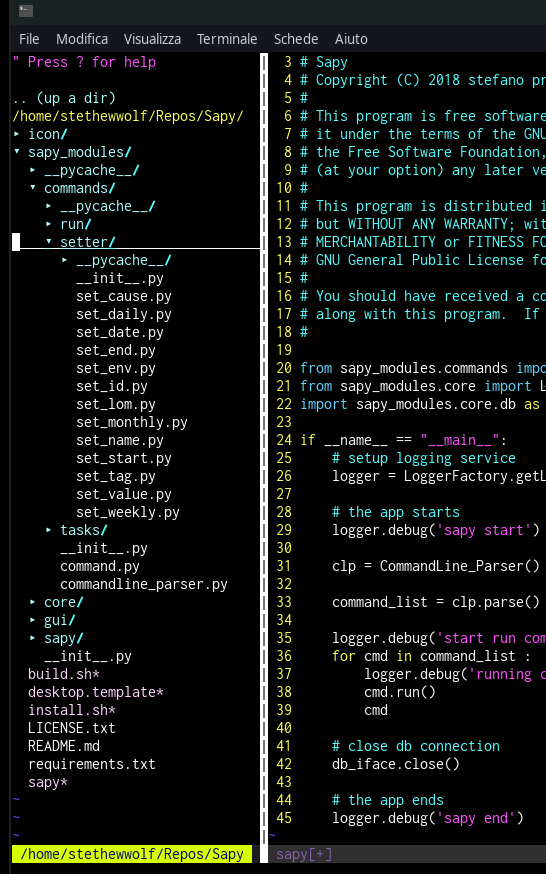
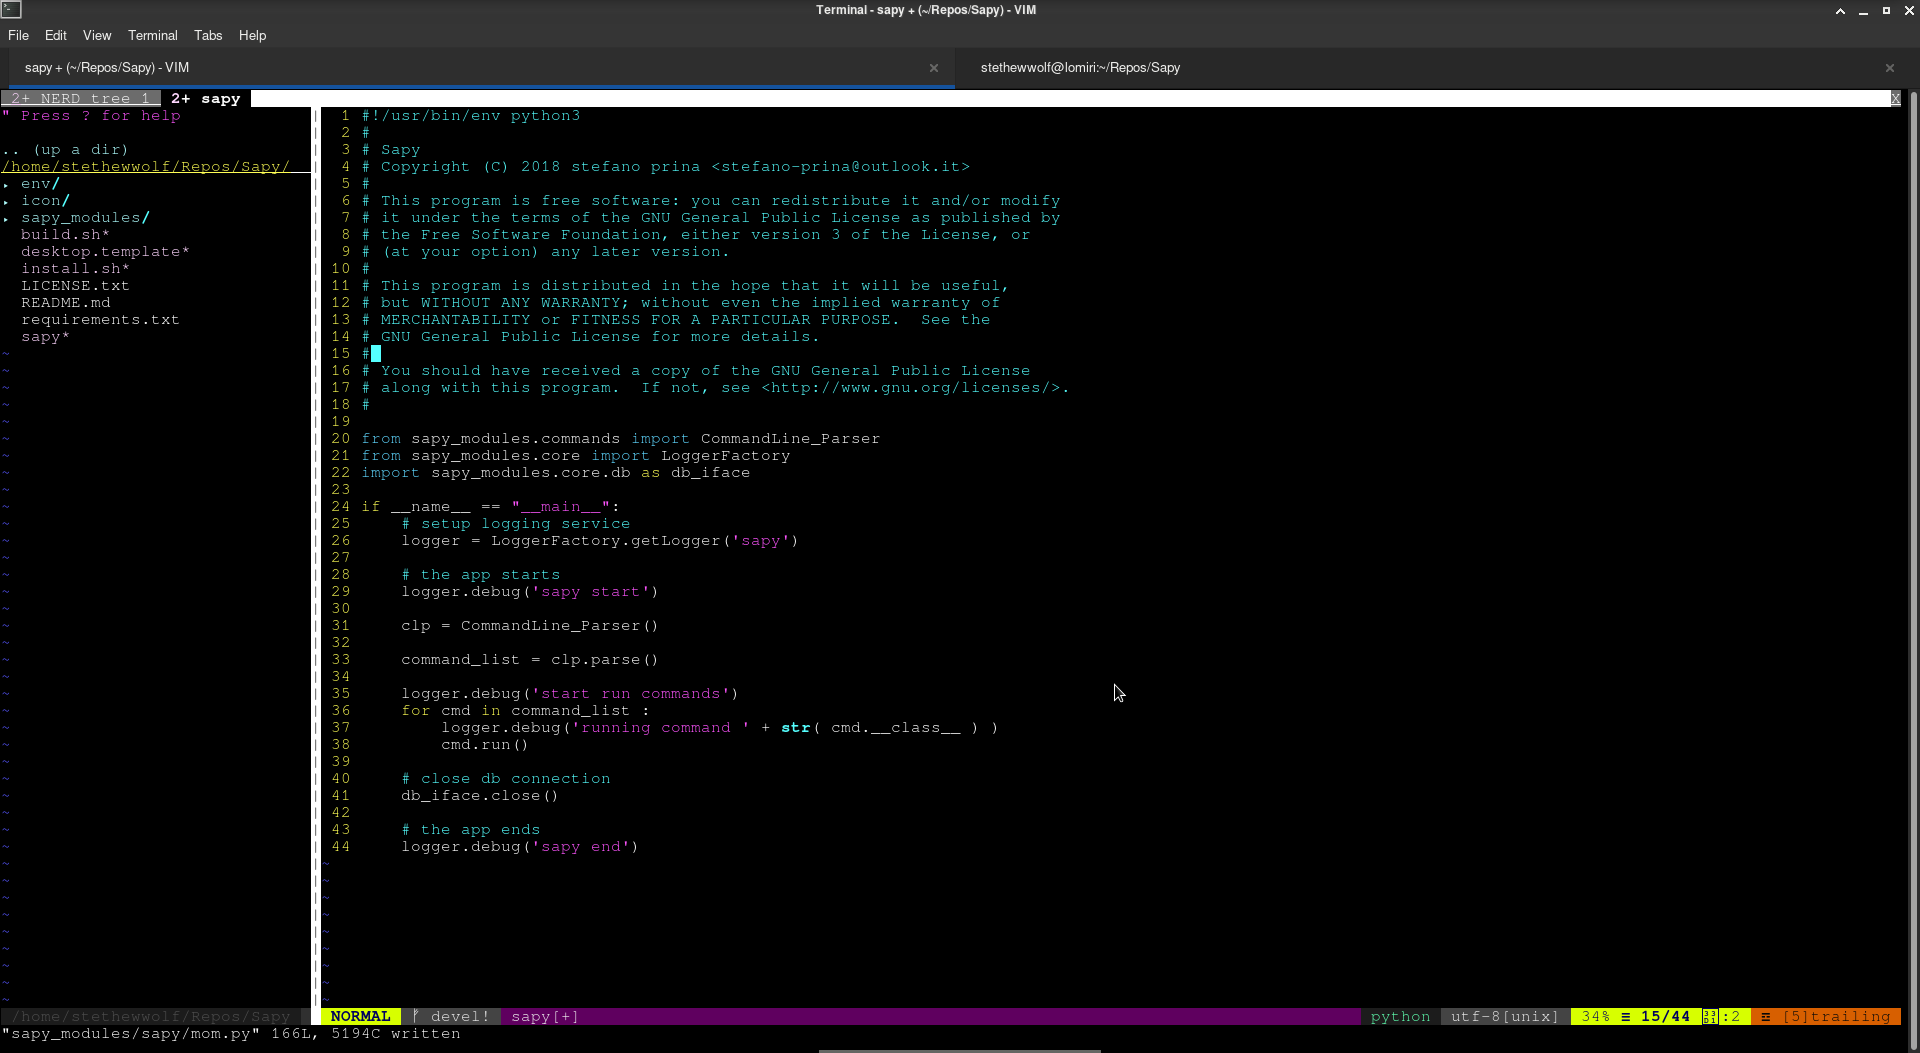
Screnshot
Ecco uno screnshot di un progetto python aperto con vim:

Riferimenti:
- https://realpython.com/vim-and-python-a-match-made-in-heaven/
- https://vimawesome.com/
- https://github.com/VundleVim/Vundle.vim
- https://github.com/ycm-core/YouCompleteMe
- https://github.com/tpope/vim-fugitive

Quest'opera è distribuita con Licenza Creative Commons Attribuzione - Condividi allo stesso modo 4.0 Internazionale Theme Moonwalk